In today’s digital era, exchanging emails can usually be considered a safe matter, with service providers implementing their own sets of securities to protect your incoming and outgoing mails. However, not all email services may provide you with the option of email encryption. Encryption for your emails is an added layer of security that can come in handy for anyone looking to further secure their valuable email interactions.
If you’re a Mac user, then you would be glad to know that you can use the stock email application of your device to send encrypted emails.

The inbuilt Mail application on your Mac offers the feature that enables you to encrypt your emails before they are sent out. This whole encryption process requires an email certificate to be installed on your Mac device, which can be availed from any of the online service providers out there. Some service providers even offer this service free of cost.
Once the set up is complete, you can send encrypted emails from your Mac’s mail app. The content of these emails will be encrypted, which means that even if someone manages to gain access to these emails, they will only see scrambled text that would make no sense.
Procuring a Free Email Encryption Certificate For Your Email Address
The first step to start encrypting your emails on your Mac is to acquire an email encryption certificate. This certificate will be used to authenticate the emails that you send from your Mac’s mail app.
There are a host of online providers that you can choose from for the certificate, however, the provider mentioned below offers the certificate free of cost for personal emails.
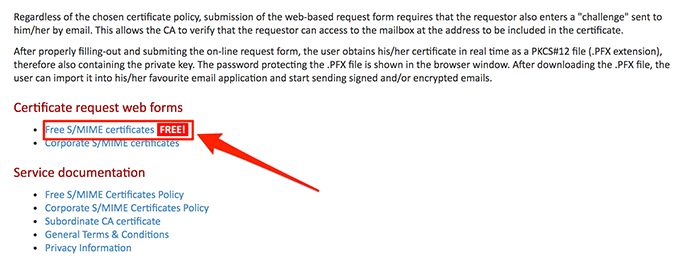
- Open a web browser and navigate to the Actalis website. Once you reach the website, look for the link that reads Free S/MIME certificates and click on it.
- A form to request a certificate will show up. Fill up this form with your personal information. Enter your email address in the Email field and click on the Send Verification Email button.

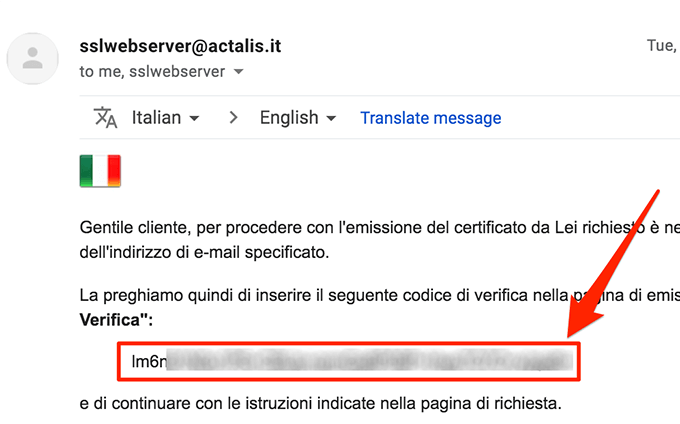
- You will receive an email containing a code. Make a copy of this code.
- Revisit the form page and paste the copied code into the Verification code field. Next, enter the captcha, check the required boxes, and click on Submit Request at the bottom.
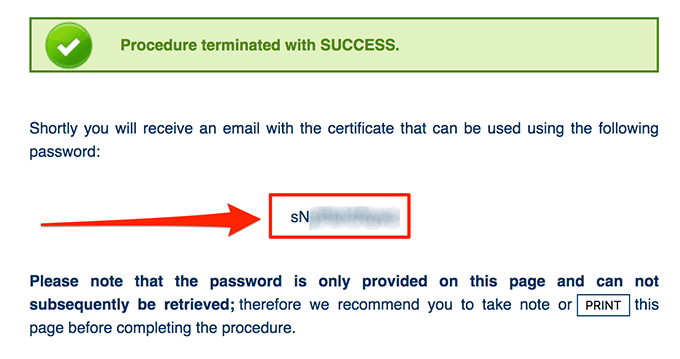
- On the following screen, you will see a password for your certificate. It is important to note it down because it will not appear again.
Upon your application submission, you will receive an email with your certificate attached in a little while.
Process of Installing The Free Email Certificate On Your Mac
After you receive the certificate via email, it should be installed in the Keychain application on your device. This will enable you to use it in the Mail app to send encrypted mails from your Mac.
- Download the attached certificate .zip file from the email and extract its contents to your Mac.
- Double-click the extracted certificate file to start installing it on your device.

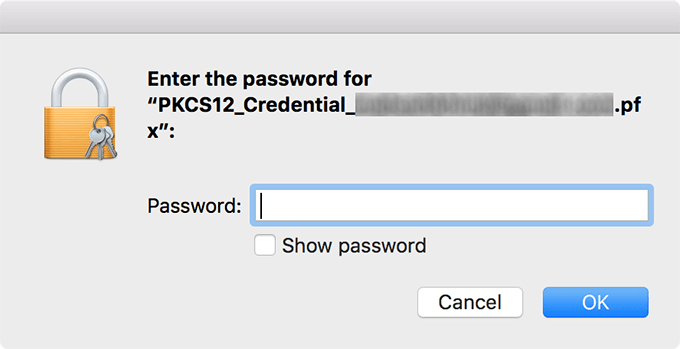
- You will be prompted to enter the password for the certificate. Enter the password that you noted down during the application process. Then hit OK to continue.
Upon completion, the certificate will be added to the app. However, you will not receive any notifications for it.
Verification of Certificate Installation In Keychain
If you want to validate if the certificate has been successfully installed, you can do so by opening Keychain and viewing your certificate.
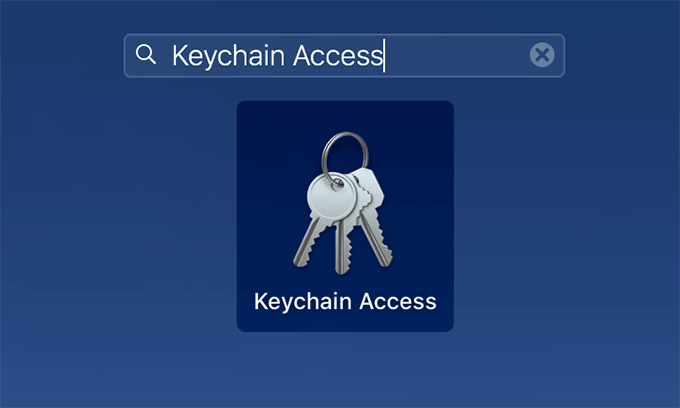
- Click on Launchpad, search for Keychain Access, and open it.
- Select My Certificates option from the left sidebar to view all your installed certificates.
- You will be able to see your newly installed email certificate in the pane to the right.
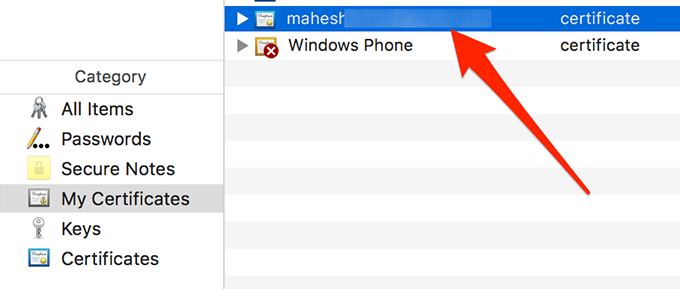
If your certificate is listed, it indicates the successful installation of the certificate on your Mac.
Method to Send Encrypted Emails From The Mail App On Your Mac
Having ensured the successful installation of the certificate, you are now equipped to send out encrypted emails from your Mac device. This process does not require any further configuration. All you have to do is draft a new email and send it out.
It is advised that you close the Mail app, in case it is already open, before proceeding with the following steps.
- Open the Mail app by your preferred method on your device.
- To draft a new encrypted email, click on the File menu at the top and select the New Message option.
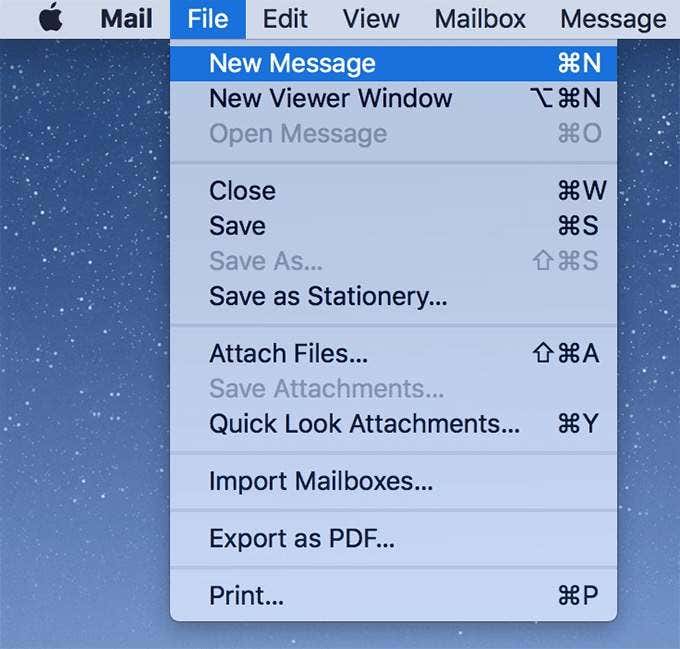 New Message” >
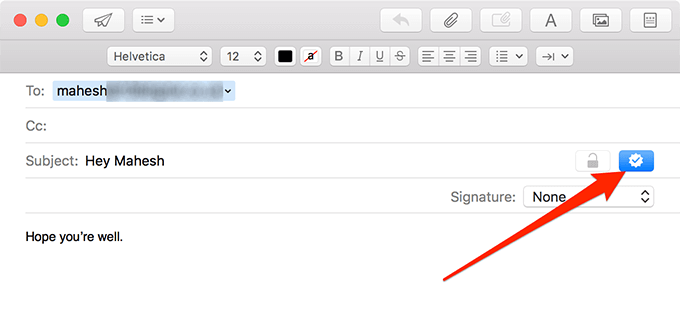
- You will be presented with a new email composer window. Fill in the recipient’s email address in the To field, the subject of your email, and the body of the email. Before you hit the send button, click on the checkmark icon to ensure it turns blue.
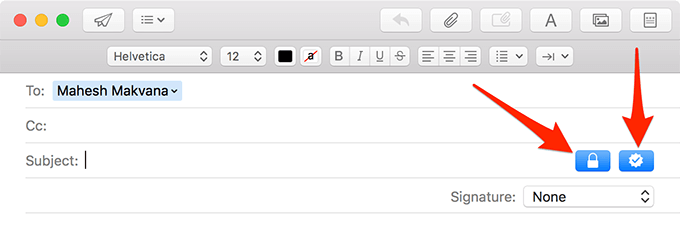
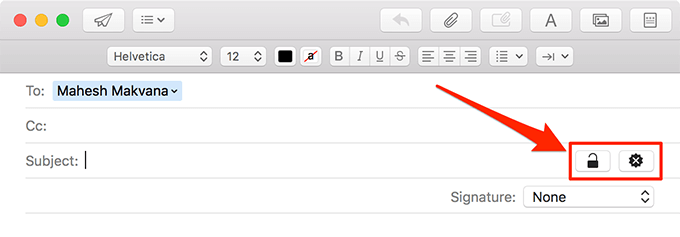
- You have now digitally signed your email, which will be sent off to your recipient. Following this exchange, you can actually send encrypted emails. Return to the new email compose window and enter all required fields. Then click on the padlock icon next to the Subject field. It will turn blue. You can then send out your email.
The email that you just drafted will be encrypted using your certificate before being sent out to the recipient.
What it means to send an Unencrypted Email from your Mac
The installation of the email encryption certificate on your device doesn’t necessitate that all your emails have to be encrypted. You can still send and receive standard emails.
- Compose a new email and ensure the padlock and check-mark icons are not enabled.
Your email will then be sent as a regular email with no encryption applied to it.
Removing the Email Encryption Certificate from your Mac
If, for any reason, you decide against the use of the certificate or wish to replace it with a new one, you might want to remove it from your Mac device.
- Launch the Keychain app.
- Locate your certificate as done in one of the above sections.
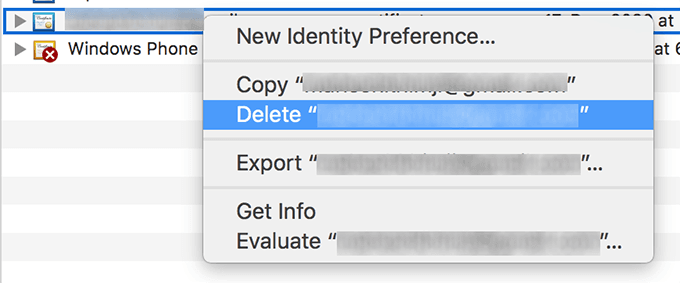
- Right-click on your certificate and select Delete.
Following these steps will ensure you can no longer send encrypted emails from your Mac.
FAQ’s About Sending Encrypted Emails From Mac
Q1: What is the purpose of email encryption?
A: Email encryption serves as an added layer of security to protect sensitive information transmitted via email from being accessed by unauthorized users.
Q2: Does the recipient also need to install the same certificate to decrypt my encrypted emails?
A: Yes, the recipient also needs to have the corresponding certificate installed to be able to decrypt and read the encrypted emails.
Q3: How can I verify that my emails are being sent encrypted?
A: Checking for the blue checkmark icon and padlock icon in the compose window ensures that your email is being sent encrypted.
Q4: How can I send unencrypted mails from my Mac?
A: Composing a new email without enabling the padlock and check-mark icons will send the email without encryption.
Q5: How can I remove an installed certificate from my Mac?
A: An installed certificate can be removed by launching the Keychain app, locating the certificate, right-clicking on it, and selecting the Delete option.


