If you’re having trouble emptying the Trash on your Mac, there are several methods you can try to force empty the Trash and completely delete the files. This will allow you to have an empty Trash app on your Mac machine.
There can be various reasons why the Trash is not getting emptied on your Mac. One possibility is that the files in the Trash are locked, which prevents them from being deleted. There may also be other issues with the files in the Trash that are preventing the task of emptying the Trash from being executed.
Quit The App That Was Using The File
One reason why you may not be able to empty the Trash is if one of the files in there is being used by an app on your Mac. To resolve this, you’ll need to close the app that is using the file first.
- Press the Command + Option + Esc keyboard shortcut to bring up a box listing the currently open apps on your Mac.
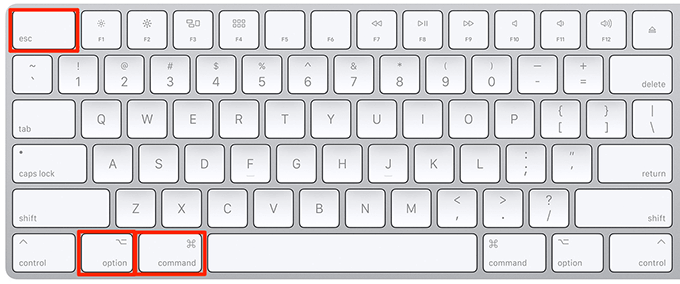
- Select the app you think is using your Trash file and click the Force Quit button.
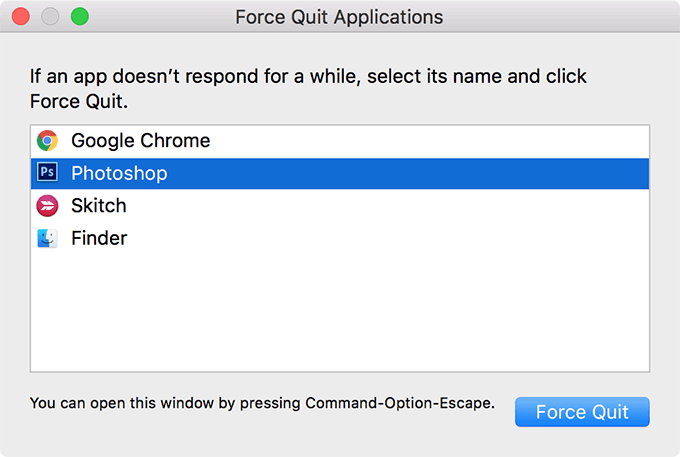
Once the app is closed, you’ll be able to empty the Trash.
Restart To Force Empty Trash on Mac
Another simple solution is to reboot your Mac. Restarting your machine can help close any apps that may be causing issues with the Trash, as well as clear the contents of RAM.
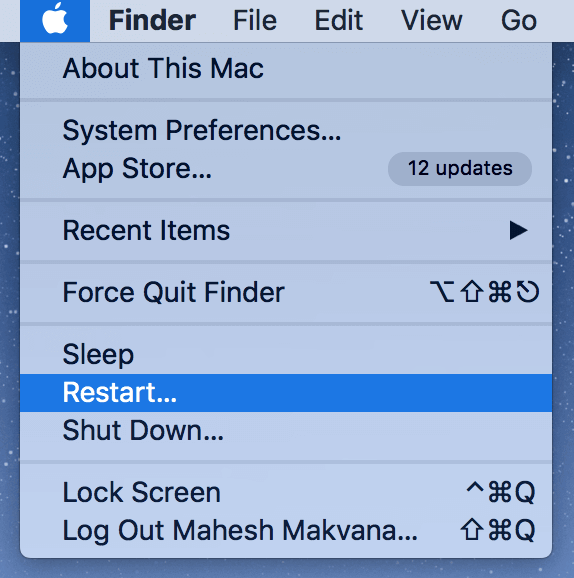
- Click on the Apple logo at the top-left corner and select Restart.
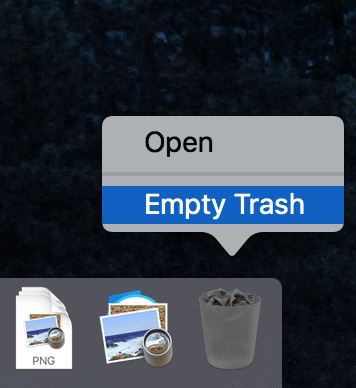
- When the Mac restarts, right-click on the Trash and select Empty Trash.
Force Empty Trash on Mac Using The Safe Mode
If you still can’t empty the Trash, it’s possible that a startup app is preventing the Trash from being cleaned up. In this case, using the Mac safe mode can help.
- Reboot your Mac and hold down Shift when it boots up.
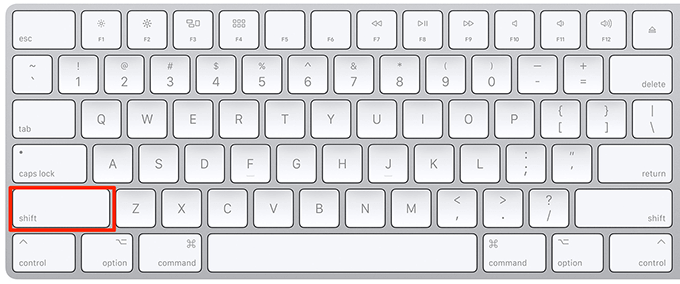
- Empty the Trash as you would normally.
Unlock Files Before Emptying The Trash
If certain locked files are causing issues with emptying the Trash, you’ll need to unlock them before you can remove them when emptying the Trash.
- Right-click on the locked file and select Get Info.
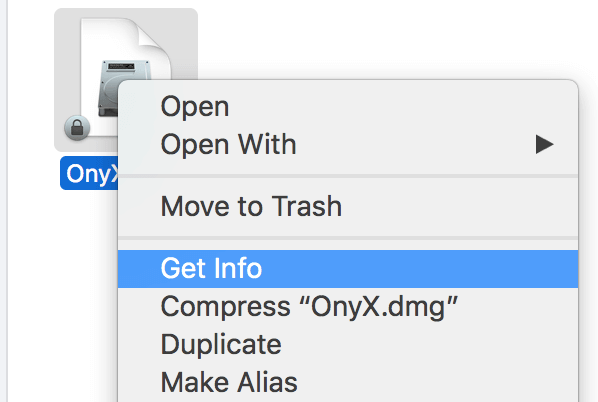
- Untick the box that says Locked to unlock the file.
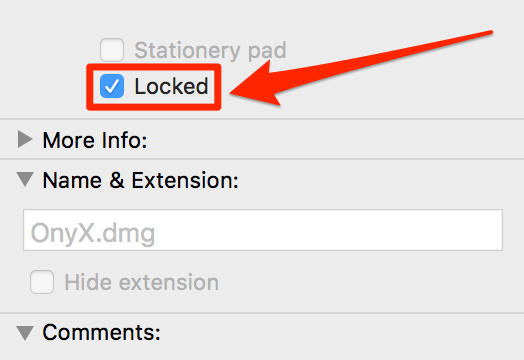
- Empty the Trash as you would normally.
Delete The Problematic Files Individually In The Trash
If a single or a few files are causing the entire Trash to not empty, you can first remove these files individually before emptying the entire Trash.
- Click on the Trash icon to open it.
- Find the problematic file, right-click on it, and select Delete Immediately.
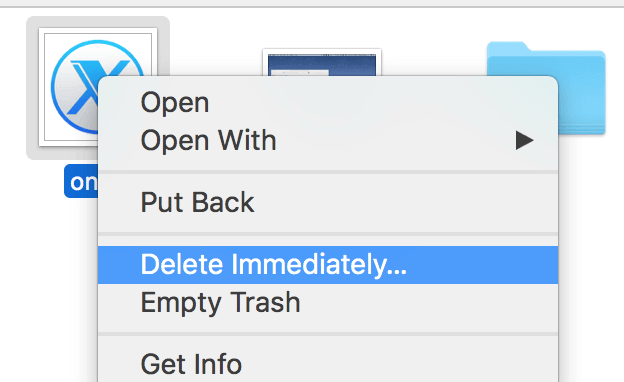
- Repeat this process until the issue is resolved.
Force Empty Trash on Mac Using Terminal
If other methods don’t work, you can use Terminal to force empty the Trash. This command line app can help you clean up all the files currently in the Trash on your Mac.
- Launch Terminal from the Launchpad on your Mac.
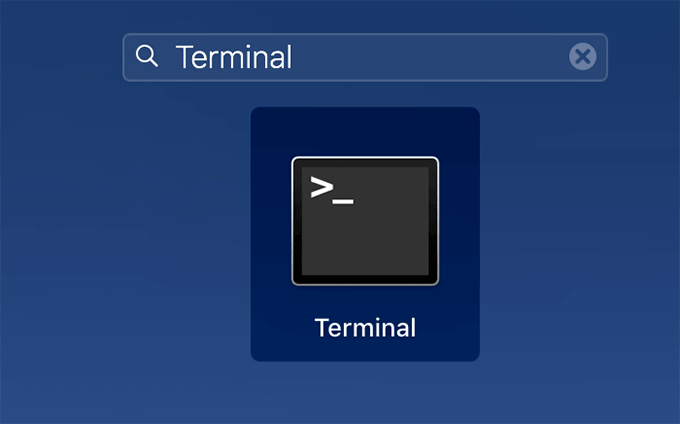
- Type the following command and hit Enter: sudo rm -rf ~/.Trash

- Enter your password when prompted to execute the command.
When the command is executed, your Trash will be empty.
Securely Empty Trash on Mac
In addition to the normal empty option, you have the option to securely erase all files in the Trash. This can help resolve any issues preventing the emptying of the Trash.
- Open the Trash on your Mac.
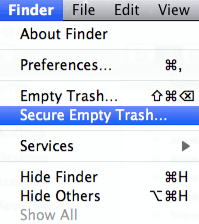
- Click on the Finder menu at the top and select Secure Empty Trash.
Use a Third-Party App To Force Empty Trash on Mac
If none of the default methods work for you, you can consider using a third-party app. A free app called Trash It! is available for this purpose and allows you to empty the Trash with a single click. It can also be used to delete individual files from your Mac.
- Download the Trash It! app on your Mac.
- Open the app and it will empty your Trash.
These methods should help resolve any issues preventing you from emptying the Trash on your Mac.


